
Insulation Solutions
The removal and replacement of a new chilled water pipe involves several steps, each requiring careful planning, proper tools, and safety measures. Below is a general guide that outlines the process for replacing a chilled water pipe, whether due to damage, failure, or a system upgrade.
1. Planning and Preparation
Before beginning, ensure you have all necessary tools and materials:
-
Tools: Pipe cutters, wrenches, pipe insulation, pipe supports/hangers, thread sealant, pipe cleaner, deburring tool.
-
Materials: New chilled water pipe (typically copper, steel, or PEX), fittings, valves, gaskets, insulation, and sealant.
-
Safety Equipment: Gloves, safety glasses, and hearing protection.
Preparation steps:
-
Assess the Current System: Evaluate the existing pipe and identify the section to replace.
-
Shut off the System: Turn off chilled water supply and relieve pressure. Drain the lines if necessary.
-
Isolate the Affected Area: Mark boundaries of the section to be replaced and isolate with shut-off valves if possible.
2. Removal of Existing Chilled Water Pipe
-
Drain the System: Ensure the pipe is fully drained before beginning work.
-
Cutting the Pipe: Use a cutter or saw to cut through the old pipe as close to the joint/fitting as possible.
-
Disconnect Fittings: Use wrenches to disconnect fittings; for welded pipes, a cutting torch may be needed.
3. Inspect and Clean the Pipe Fittings and Connections
-
Check Fittings: Inspect and clean any fittings to be reused.
-
Deburring: Smooth out any cut metal edges with a deburring tool for a tight seal.
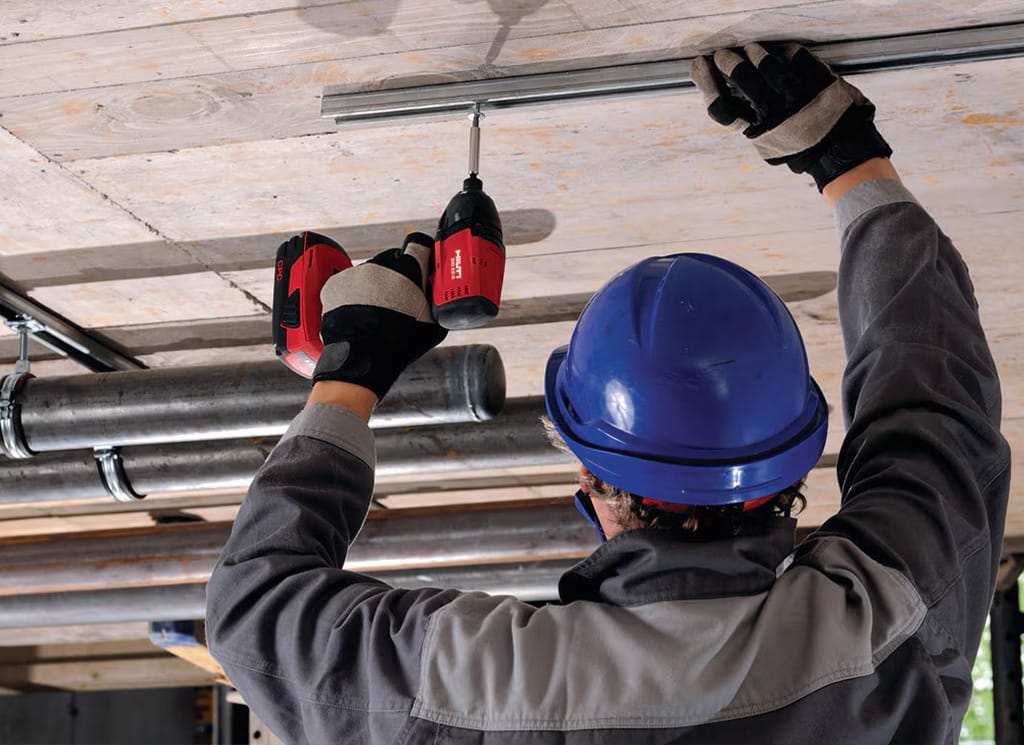
4. Install the New Chilled Water Pipe
-
Measure and Cut: Prepare the new pipe to the correct length/routing.
-
Install New Fittings: For replacements, install new fittings with Teflon tape or thread sealant.
For brazed or welded connections:
-
Brazing/Welding: Use a propane torch and brazing rods for copper, MIG/TIG welders for steel.
-
Proper Alignment: Make sure the new pipe is properly aligned and supported to prevent sagging.
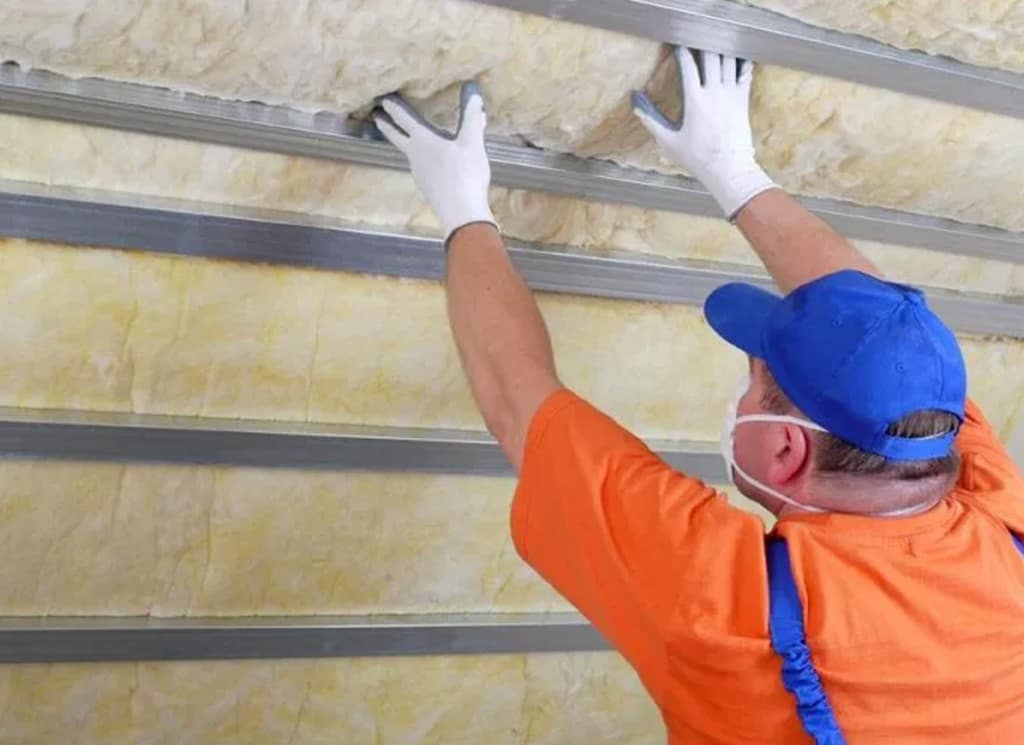
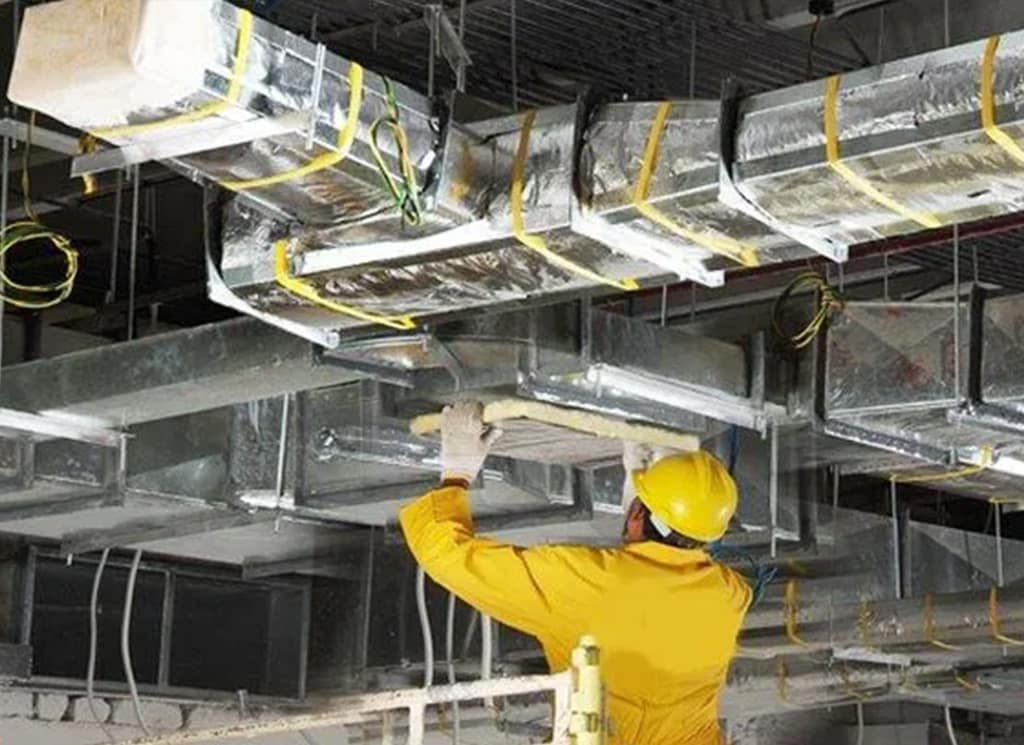
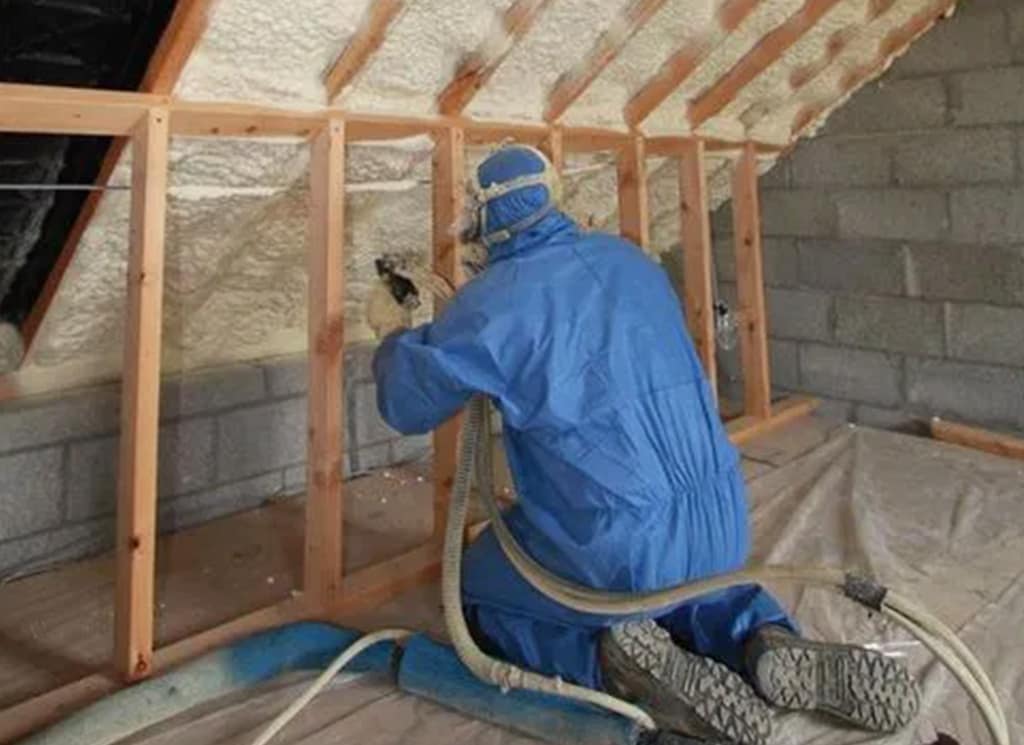
5. Insulation and Sealing
-
Pipe Insulation: Wrap the new pipe in appropriate insulation to minimize energy loss and prevent condensation.
-
Seal Joints: Use silicone or suitable gasket material for leak-proof seals.
6. Pressure Test the System
-
Pressurize: Gradually restore pressure and check with a pump or the system itself.
-
Leak Inspection: Carefully inspect all joints and pipes for leaks. Correct as needed.
7. Recommission the System
-
Refill: Once leak-free, refill with chilled water and restore normal operation.
-
Monitor: Watch system performance for hours or days to confirm stability.
8. Final Cleanup
-
Remove Debris: Clear out old materials and tools.
-
Adjust Settings: Make sure pressure and flow rates are set correctly.